How to Integrate a Virtual Fitting Room With Shopify (Easy Guide for Online Stores)
- Paul Fong
- Feb 14
- 5 min read

So you've built your Shopify store, your product photos are looking crisp, and orders are trickling in. But there's one nagging problem: returns. Customers love shopping online, but they're not so thrilled when that "perfect" jacket arrives and fits like a potato sack.
This is your moment to level up. Virtual fitting rooms are changing the game for online apparel retailers, and integrating one with your Shopify store is way easier than you might think. Whether you're running a boutique or scaling a full-blown fashion empire, this guide walks you through everything you need to know.
Let's get into it.
What Exactly Is a Virtual Fitting Room?
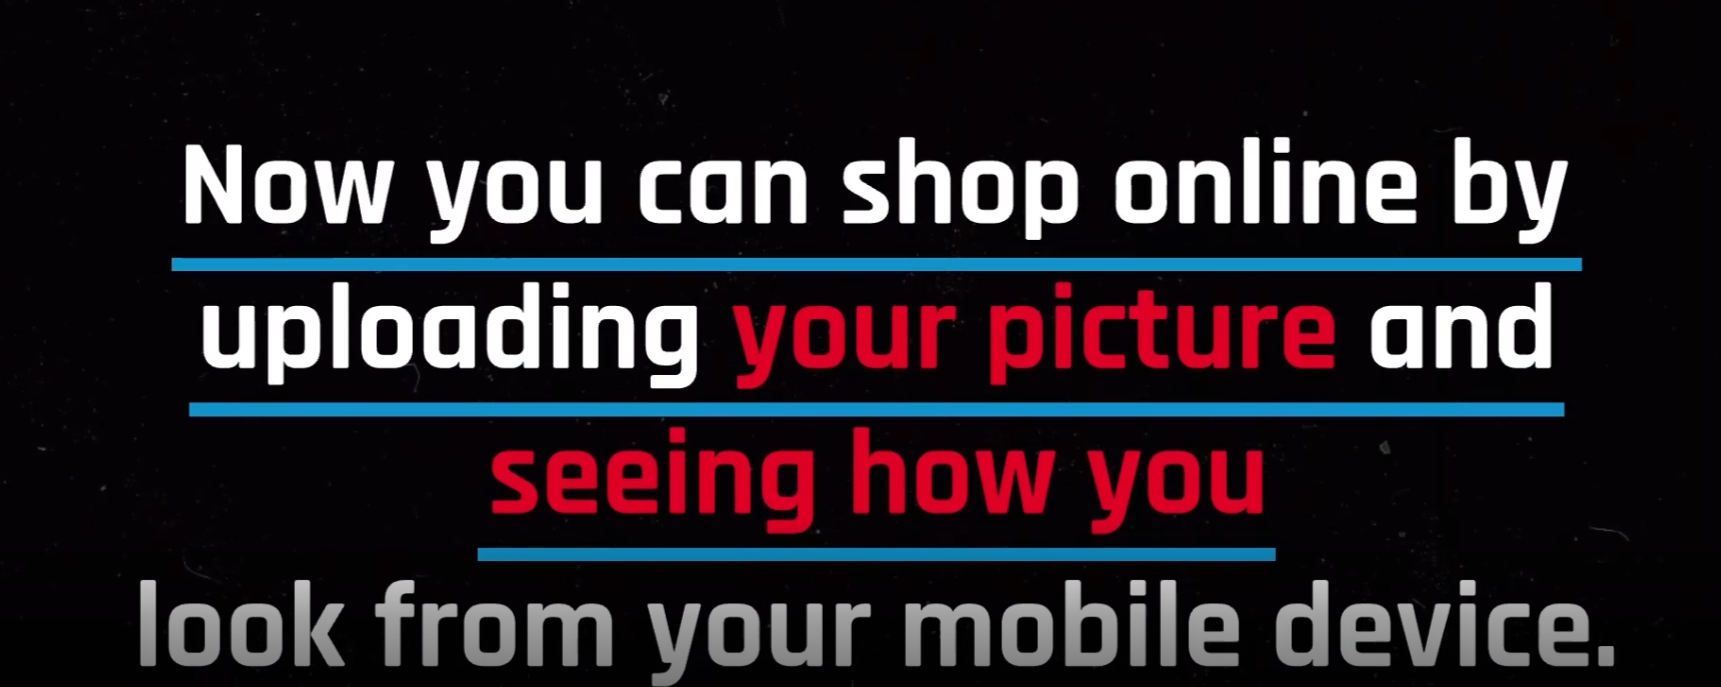
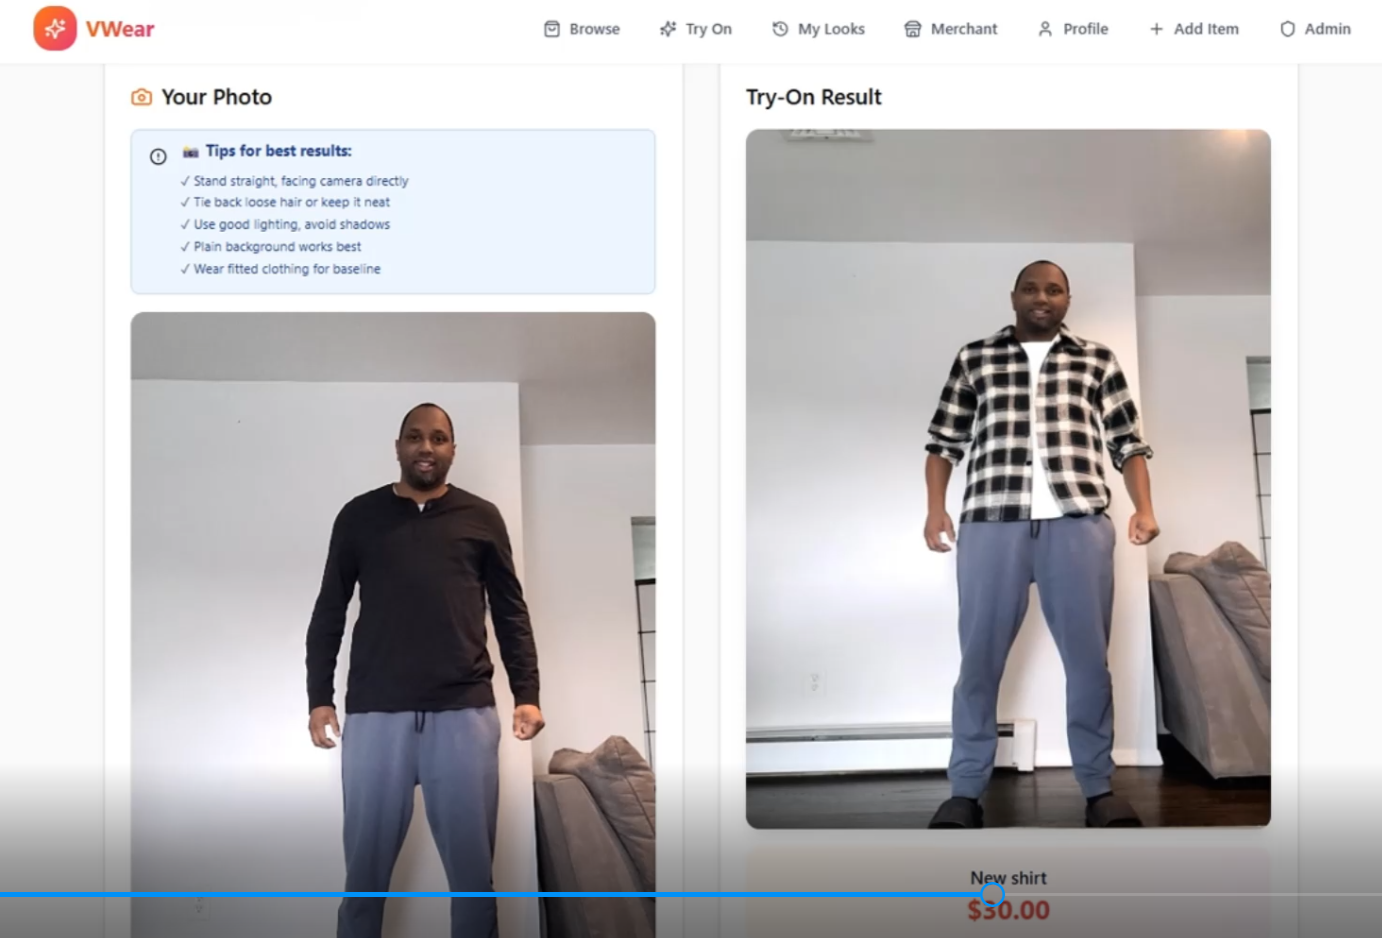
Before we dive into the how-to, let's quickly cover the what. A virtual fitting room uses a combination of AR (augmented reality), AI, and 3D modeling to let your customers see how clothing looks on them before they hit that "Add to Cart" button.
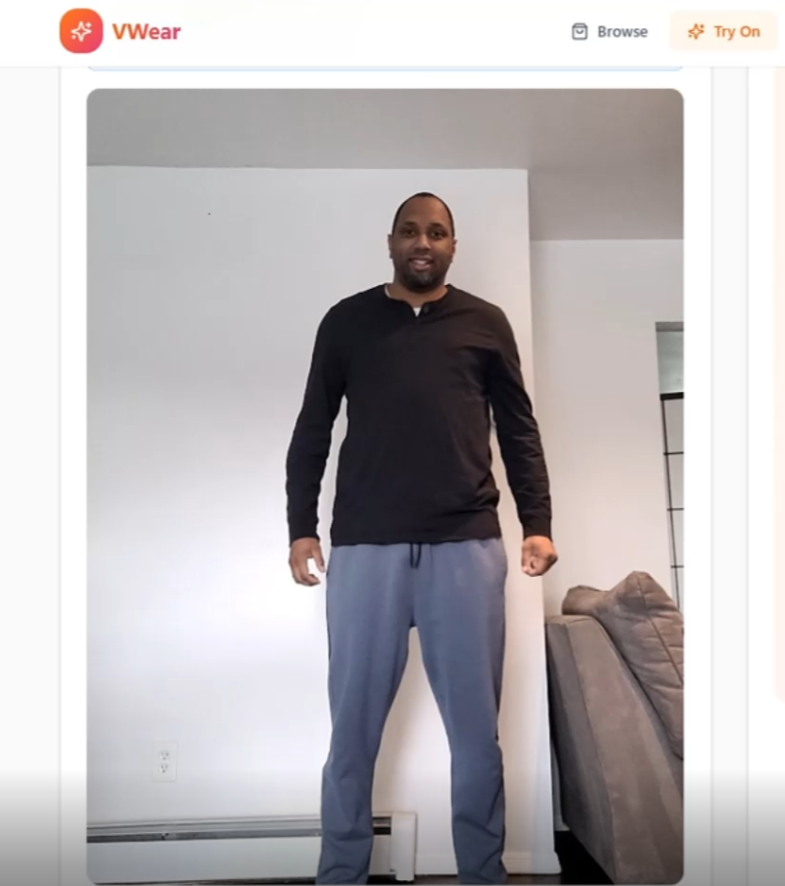
Here's the magic: shoppers upload a photo of themselves, and the technology overlays your products onto their image. They get a realistic preview of fit, style, and vibe, all from their phone or laptop.
The result? Happier customers, fewer returns, and a shopping experience that feels almost as good as being in a real fitting room. Almost.
Why Your Shopify Store Needs This (Like, Yesterday)
You might be thinking, "Sounds cool, but is it worth the effort?" Short answer: absolutely. Here's why virtual fitting rooms are becoming essential for online clothing retailers:
Slash Your Return Rates
Returns are the silent killer of e-commerce profits. When customers can visualize how something fits before buying, they make smarter purchasing decisions. That means fewer "this looked different online" moments and more items staying in closets instead of return boxes.
Boost Conversion Rates
Here's a fun fact: shoppers who use virtual try-on features are significantly more likely to complete a purchase. When uncertainty disappears, confidence takes over. And confident shoppers buy.
Stand Out From the Competition
Let's be real, every Shopify store has nice photos and snappy product descriptions. But how many offer an interactive fitting room experience? This is your chance to wow customers and make your store memorable.
Build Customer Trust
Offering a virtual fitting room tells your customers, "We want you to love what you buy." That kind of transparency builds loyalty and keeps people coming back.
Step-by-Step: Integrating a Virtual Fitting Room With Shopify
Alright, here's the good stuff. This is your roadmap to getting a virtual fitting room live on your Shopify store. Spoiler alert: it's way less complicated than you'd expect.
Step 1: Choose Your Virtual Fitting Room App
Head over to the Shopify App Store and browse the virtual try-on options. You'll find several choices, but look for apps that offer:
Native Shopify integration (no clunky workarounds)
AI-powered body detection
Mobile-friendly functionality
Easy setup without coding
VWEAR, for example, is designed specifically to make this process painless for online retailers. The goal is seamless integration that doesn't slow down your site or frustrate your customers.
Step 2: Install the App
Once you've picked your app, installation typically takes less than a minute. Seriously. Click "Install," follow the onboarding prompts, and you're halfway there. Most apps walk you through the initial setup with clear instructions.
Step 3: Enable the App in Your Theme Editor
This is where the magic happens. Navigate to your Shopify Theme Editor and add the app's widget or block to your Product Page template. Save your changes, and boom: you've just added a try-on button to your product pages.
No coding required. No developer fees. Just point, click, and save.
Step 4: Upload and Organize Your Product Data
Here's the thing: your virtual fitting room is only as good as your product data. To get realistic, accurate try-on experiences, you need:
High-quality product images (2D or 3D, depending on your app)
Accurate product measurements
Consistent naming conventions across your catalog
Aligned size charts for all product variants
Take some time to clean up your product catalog before going live. Trust us: this step makes a huge difference in how polished your virtual fitting room looks.
Step 5: Select Which Products Get the Try-On Feature
You don't have to roll this out across your entire store at once. Start by enabling virtual try-on for specific collections or bestselling items. This lets you test the waters, gather data, and refine the experience before expanding.
Step 6: Test Everything
Before you announce your shiny new feature to the world, run some tests. Check that:
The try-on overlays look accurate
Load times are fast (nobody likes waiting)
The feature works smoothly on both desktop and mobile
Analytics are tracking try-on sessions and conversions
Grab a few team members or friends and have them try it out. Fresh eyes catch things you might miss.
Your Implementation Timeline
Want a realistic plan? Here's a simple three-week timeline to get your virtual fitting room up and running:
Week 1: Planning and Setup
Define your goals (reduce returns? increase conversions? boost engagement?)
Choose your virtual fitting room app
Identify which products to include in your pilot launch
Week 2: Prepare and Configure
Clean up your product data and standardize naming conventions
Upload high-resolution images
Set up a staging theme in Shopify to test privately
Confirm app permissions for camera access and analytics
Week 3: Launch and Monitor
Go live on your selected product pages
Run quality assurance tests
Set up analytics dashboards to track performance
Collect feedback from customers and your team
Pro Tips for Virtual Fitting Room Success
You've got the basics down. Now here are some insider tips to make your virtual fitting room truly shine:
Guide Your Customers
Not everyone has used a virtual try-on feature before. Add helpful microcopy like "Stand in front of a plain background" or "Move closer for better alignment." A quick 30-second demo video can also work wonders for first-time users.
Start Small, Then Scale
Don't feel pressured to launch across your entire catalog on day one. Start with one product line or collection, measure the results, and expand from there. This phased approach lets you catch any issues early and optimize as you go.
Train Your Team
Make sure your customer support and fulfillment teams understand how the feature works. When customers have questions (and they will), your team should be ready with helpful answers.
Monitor Your Metrics
Keep an eye on try-on sessions, add-to-cart rates, and conversion rates. Compare these numbers to your pre-launch baseline. This data tells you exactly how much impact your virtual fitting room is making.
Collect Feedback
In the first month, actively ask customers what they think. Send a quick survey or add a feedback prompt after try-on sessions. Real user insights help you fine-tune the experience.
Ready to Transform Your Shopify Store?
Integrating a virtual fitting room with Shopify isn't just a tech upgrade: it's a customer experience upgrade. You're giving shoppers the confidence to buy, reducing the headache of returns, and positioning your store as a forward-thinking leader in online retail.
The best part? You can have this up and running in weeks, not months. No coding. No complicated setups. Just a smarter way to sell clothes online.
Want to see how VWEAR can work for your store? Check out our portfolio to see real examples of virtual fitting rooms in action, or get in touch to chat about your specific needs.
Your customers are waiting to try things on. Let's make it happen.
Comments